I have previously described Gunbot and how it works, including how to prepare for using it. Here I cover installation and initial setup.
Installation
Download and unzip the most recent version of Gunbot from GitHub (obviously you will need to have paid for a license for it to work). I run the Windows version and have mine in a C:/Gunbot/Latest folder (and move older versions into other folders as they get replaced).
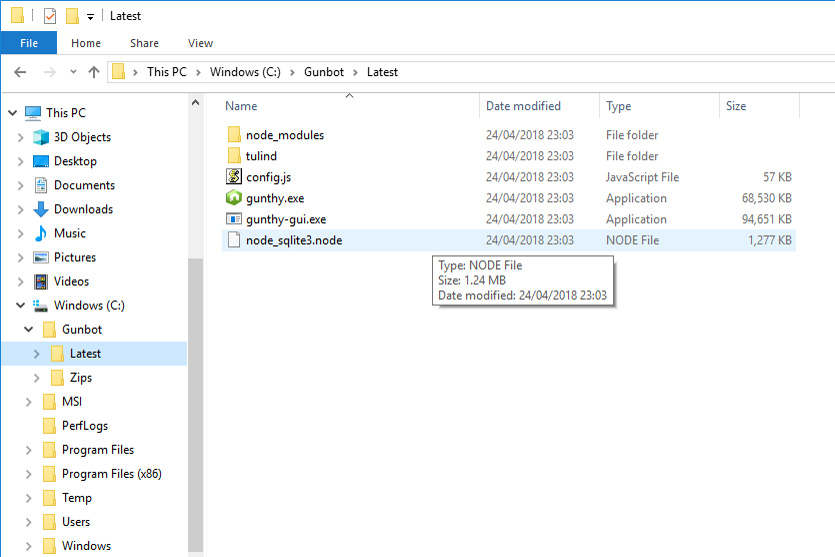
Double-click on gunthy-gui.exe to run the Gunbot user interface. If you get a message about needing to get something from the Windows store, cancel it. If you get a message from Windows Defender Firewall, Allow access.
You should have a Windows command window running that says “Gunthy GUI <version> running on http://localhost:5000″.
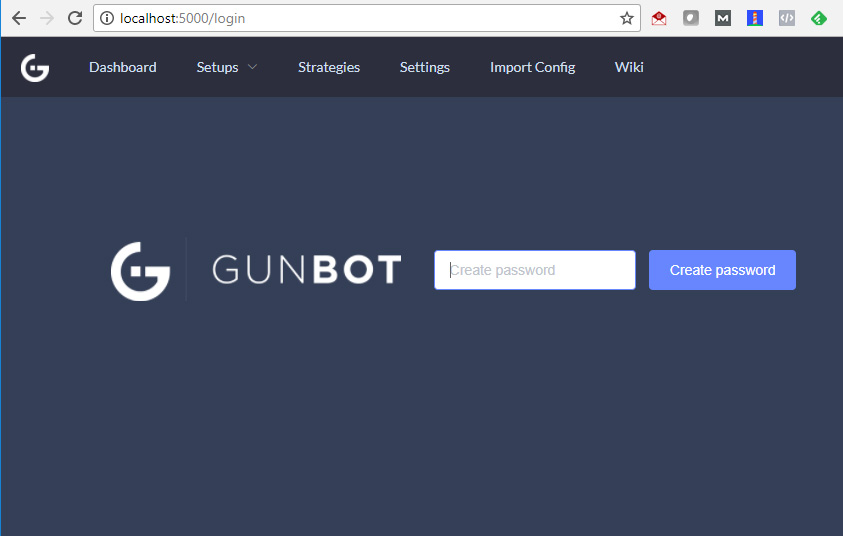
In a new brower tab (I recommend Chrome as the browser) type in the address “localhost:5000” and enter.
Gunbot User Interface
You should now see the Gunbot interface up and running – the first time it will take you to the Login screen.
If you don’t get that then you may need to open access to port 5000 through the Firewall – for more details see the official installation video.
Choose and enter a password, record it somewhere safe, then click on Create password. You are now in the main Gunbot dashboard.
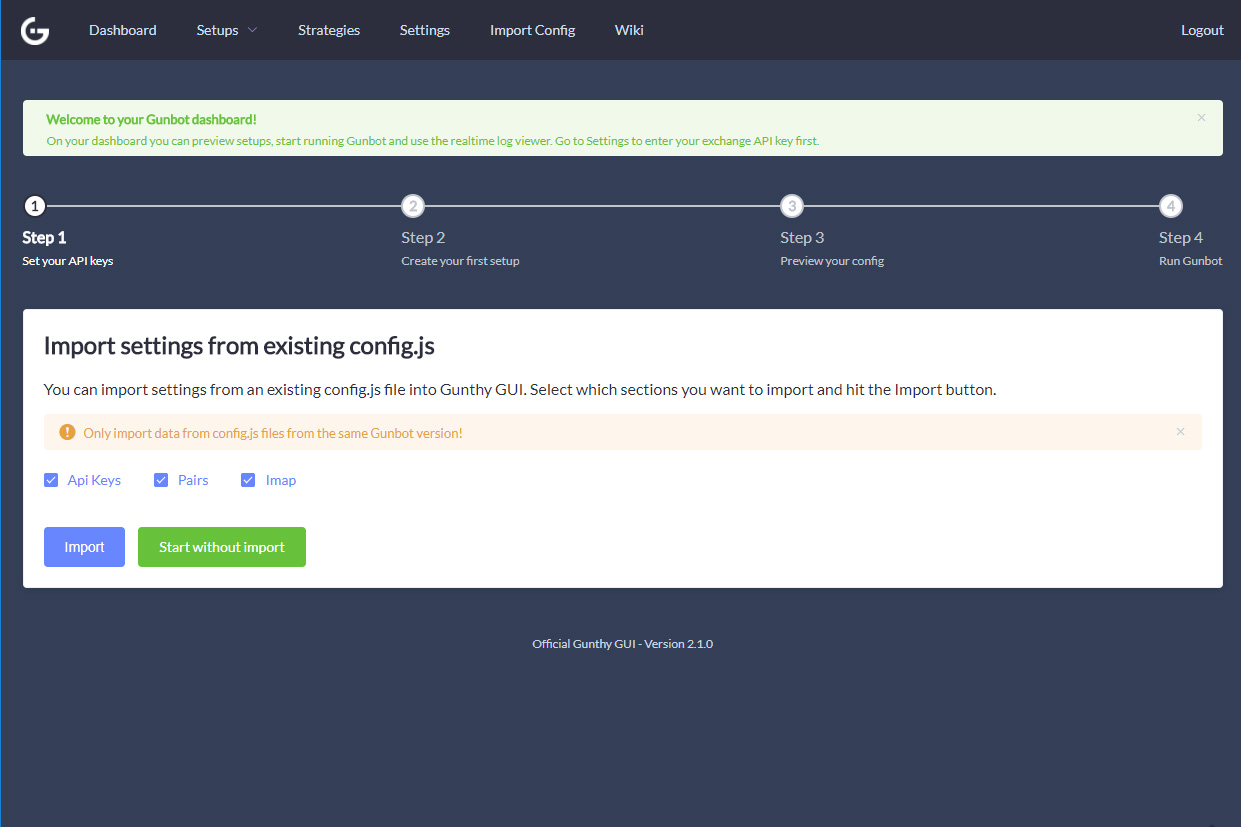
Assuming you are a new user, and so don’t have an existing config file, select Start without import.
On the next screen, Settings/API Keys, enter the API Key and Secret for the exchange you want to use (I use Poloniex). I have previously covered the method to get an API key for the Bitfinex exchange, but it’s a very similar process on most exchanges.
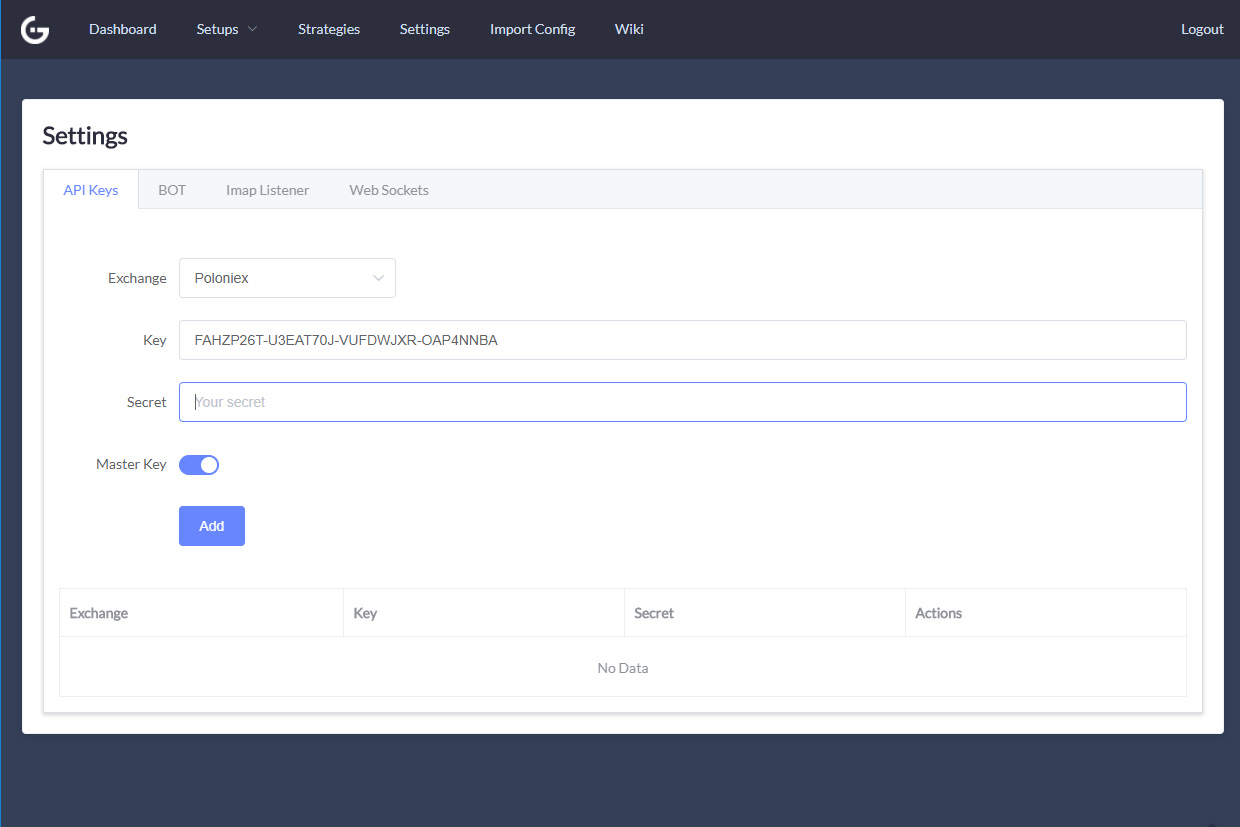
With Master Key enabled, click Add. You should get the message “API Key sucessfully added!” and it should be shown in the table at the bottom of the screen.